Turn real world places into downloadable Minecraft Java Edition worlds.
Terrain and elevation
Minecraft terrain generator from real map data
Terrain mode can make a MaptoCraft world feel much closer to a real place, but it is also the easiest
way to make generation slower. This guide explains when terrain is worth using, how to pick a safe first
terrain selection, and how height scale and smoothing affect the result.
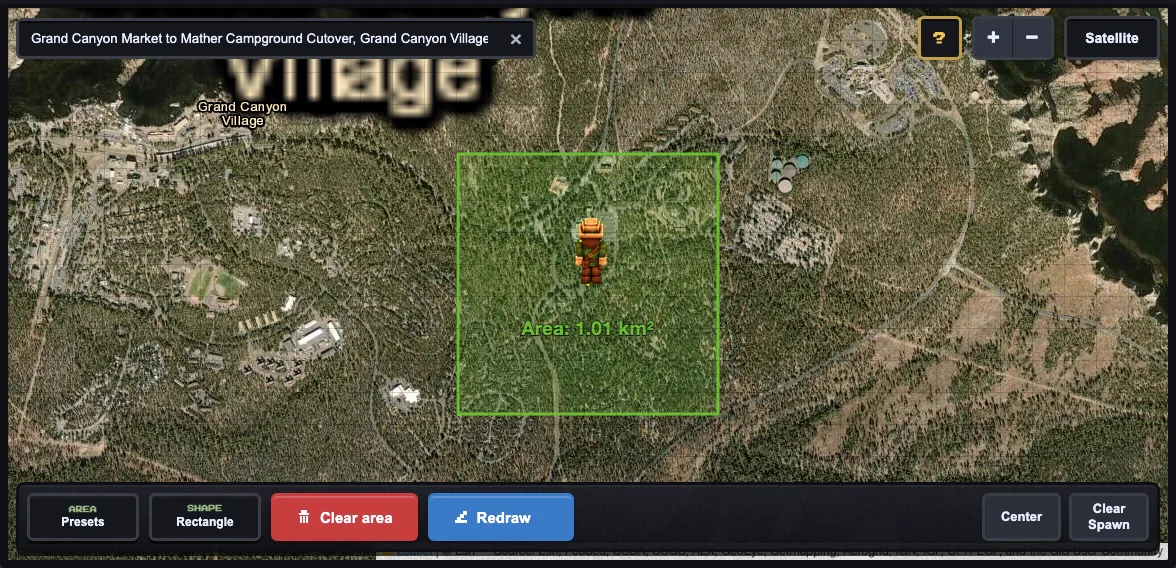
A small Grand Canyon terrain map selection. Keep the first terrain run focused so elevation tile
fetching and browser memory stay manageable.
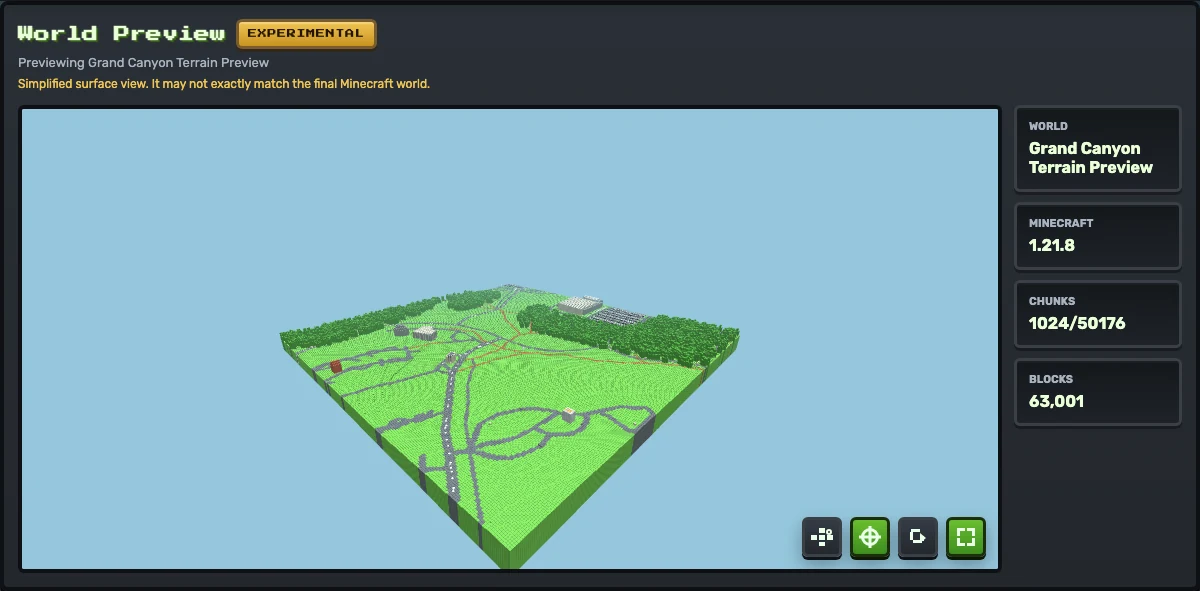
Generated preview from that small Grand Canyon terrain test. Terrain mode is worth using when the
surface shape matters, but the preview should still be checked before downloading the world.
Flat generation versus terrain generation
Flat generation focuses on the map layout: streets, buildings, paths, water, and other supported
features. It is the fastest way to check whether the source data is useful. Terrain generation adds
elevation data so the surface better reflects the real-world shape of the selected area.
The tradeoff is speed and reliability. Terrain requires extra elevation tile requests and more browser
processing. A selection that is easy in flat mode can become slow or fail in terrain mode if the area is
too large.
When terrain is worth turning on
Use terrainCanyons, cliffs, hills, valleys, ridges, coastlines
Usually flat firstDense downtown blocks, campuses, street grids
Keep small500 m to 1 km for first terrain tests
PreviewCheck spawn and surface shape before download
If the place is recognizable because of its elevation, use terrain. If the place is recognizable because
of buildings and roads, generate it flat first. This saves time and separates two questions: does the
map data produce a useful layout, and does elevation improve that layout?
First terrain settings to try
Area size
Use Tiny 500 m for steep or detailed areas. Use Small 1 km only when the first terrain run is manageable.
Scale
Keep scale at 1 for terrain tests. Higher scale multiplies the final world size.
Terrain height scale
Start at 1. Lower it if slopes feel exaggerated; raise it only when the world feels too flat.
Terrain smoothing
Start at 1. Use 0 for sharper terrain detail or 2-4 for softer transitions.
Spawn height
Use the preview to confirm spawn safety. Raise spawn height if the start point risks clipping into terrain.
A practical terrain testing sequence
Generate the same area flat first if roads, paths, or buildings matter.
If the flat layout is useful, turn terrain on and keep the area small.
Use height scale 1 and smoothing 1 for the first terrain run.
Preview the world and inspect the spawn area before downloading.
Change one setting at a time so you know what improved or broke the result.
Do not start terrain with the largest area. Terrain failures are slower to discover
than flat failures because the browser must fetch and process extra elevation data.
Troubleshooting terrain runs
Generation takes too long: reduce the area first, then lower scale if needed.
Terrain looks too extreme: reduce terrain height scale before changing other settings.
Terrain looks noisy: increase smoothing by one step and rerun a small area.
Spawn is unsafe: move spawn to a flatter location or raise spawn height.
Large city terrain fails: split the city into smaller hilly districts or use flat mode.